This is the second in a series of posts about my claymation project this year. The first post was just a basic overview of the project. This post will deal a bit more with some of the resources that I used and how I went about launching claymation with my sixth graders.
First of all, this is the fourth year that I have been doing claymation. The first two years, I used simple digital still images and MovieMaker to add narration and titles. Last year, following the lead of my friend Tonya W., I shifted to using a freeware program called Stop-Motion Animator. This software uses a webcam to capture “frames” as an .AVI video file. This shift to Stop-Motion Animator allowed my students to create moving movies, and not just still images. This was a big leap forward for us, although now it required more patience from my students and increased video editing skills.
On the technical side, too, I found that I had to download a video Codec (called Xvid) in order for MovieMaker to recognize the AVI files created by the stop-motion software. Every move forward seems to require some kind of trouble-shooting, but that is the way of the world. In MovieMaker, students can add titles, transitions, audio narration, music and some features of movie production. The most valuable? The ability to slow down a video segment (through MM’s video effects) because all too often, students have not shot enough frames to match their narration. This gives them a little leeway.
For the writing element, we often focus on some aspect of writing. One year, it was how setting informs a story. Another year, it was integrating science by having students invent a new creature and how the habitat that it lives in affects its development. This year, I decided to focus on Climate Change.
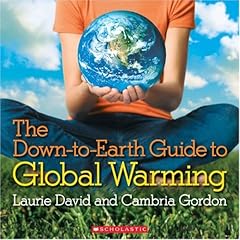
First, we used a book called “The Down to Earth Guide to Global Warming” by Laurie David and Cambria Gordon. It’s a kid-friendly look at climate change. I used some of my collected points via Scholastic Books to purchase about seven of the books for the classroom. We also did some research around global warming, just to ground the students on the issue.
Next, students created clay figures and we use the cheap clay you can get at any department store. The clay is a bit messy but it is cheap and they can use as much as they need. I also provide a box of craft supplies, such as googlie eyes, sticks, etc. This creation of clay figures made the project character driven and I have often had the story done first before the characters but this year, I did the reverse. The result? I think it helped students when considering a story idea to have a character they could put into action. They could tangibly hold it in their hands as they were writing.
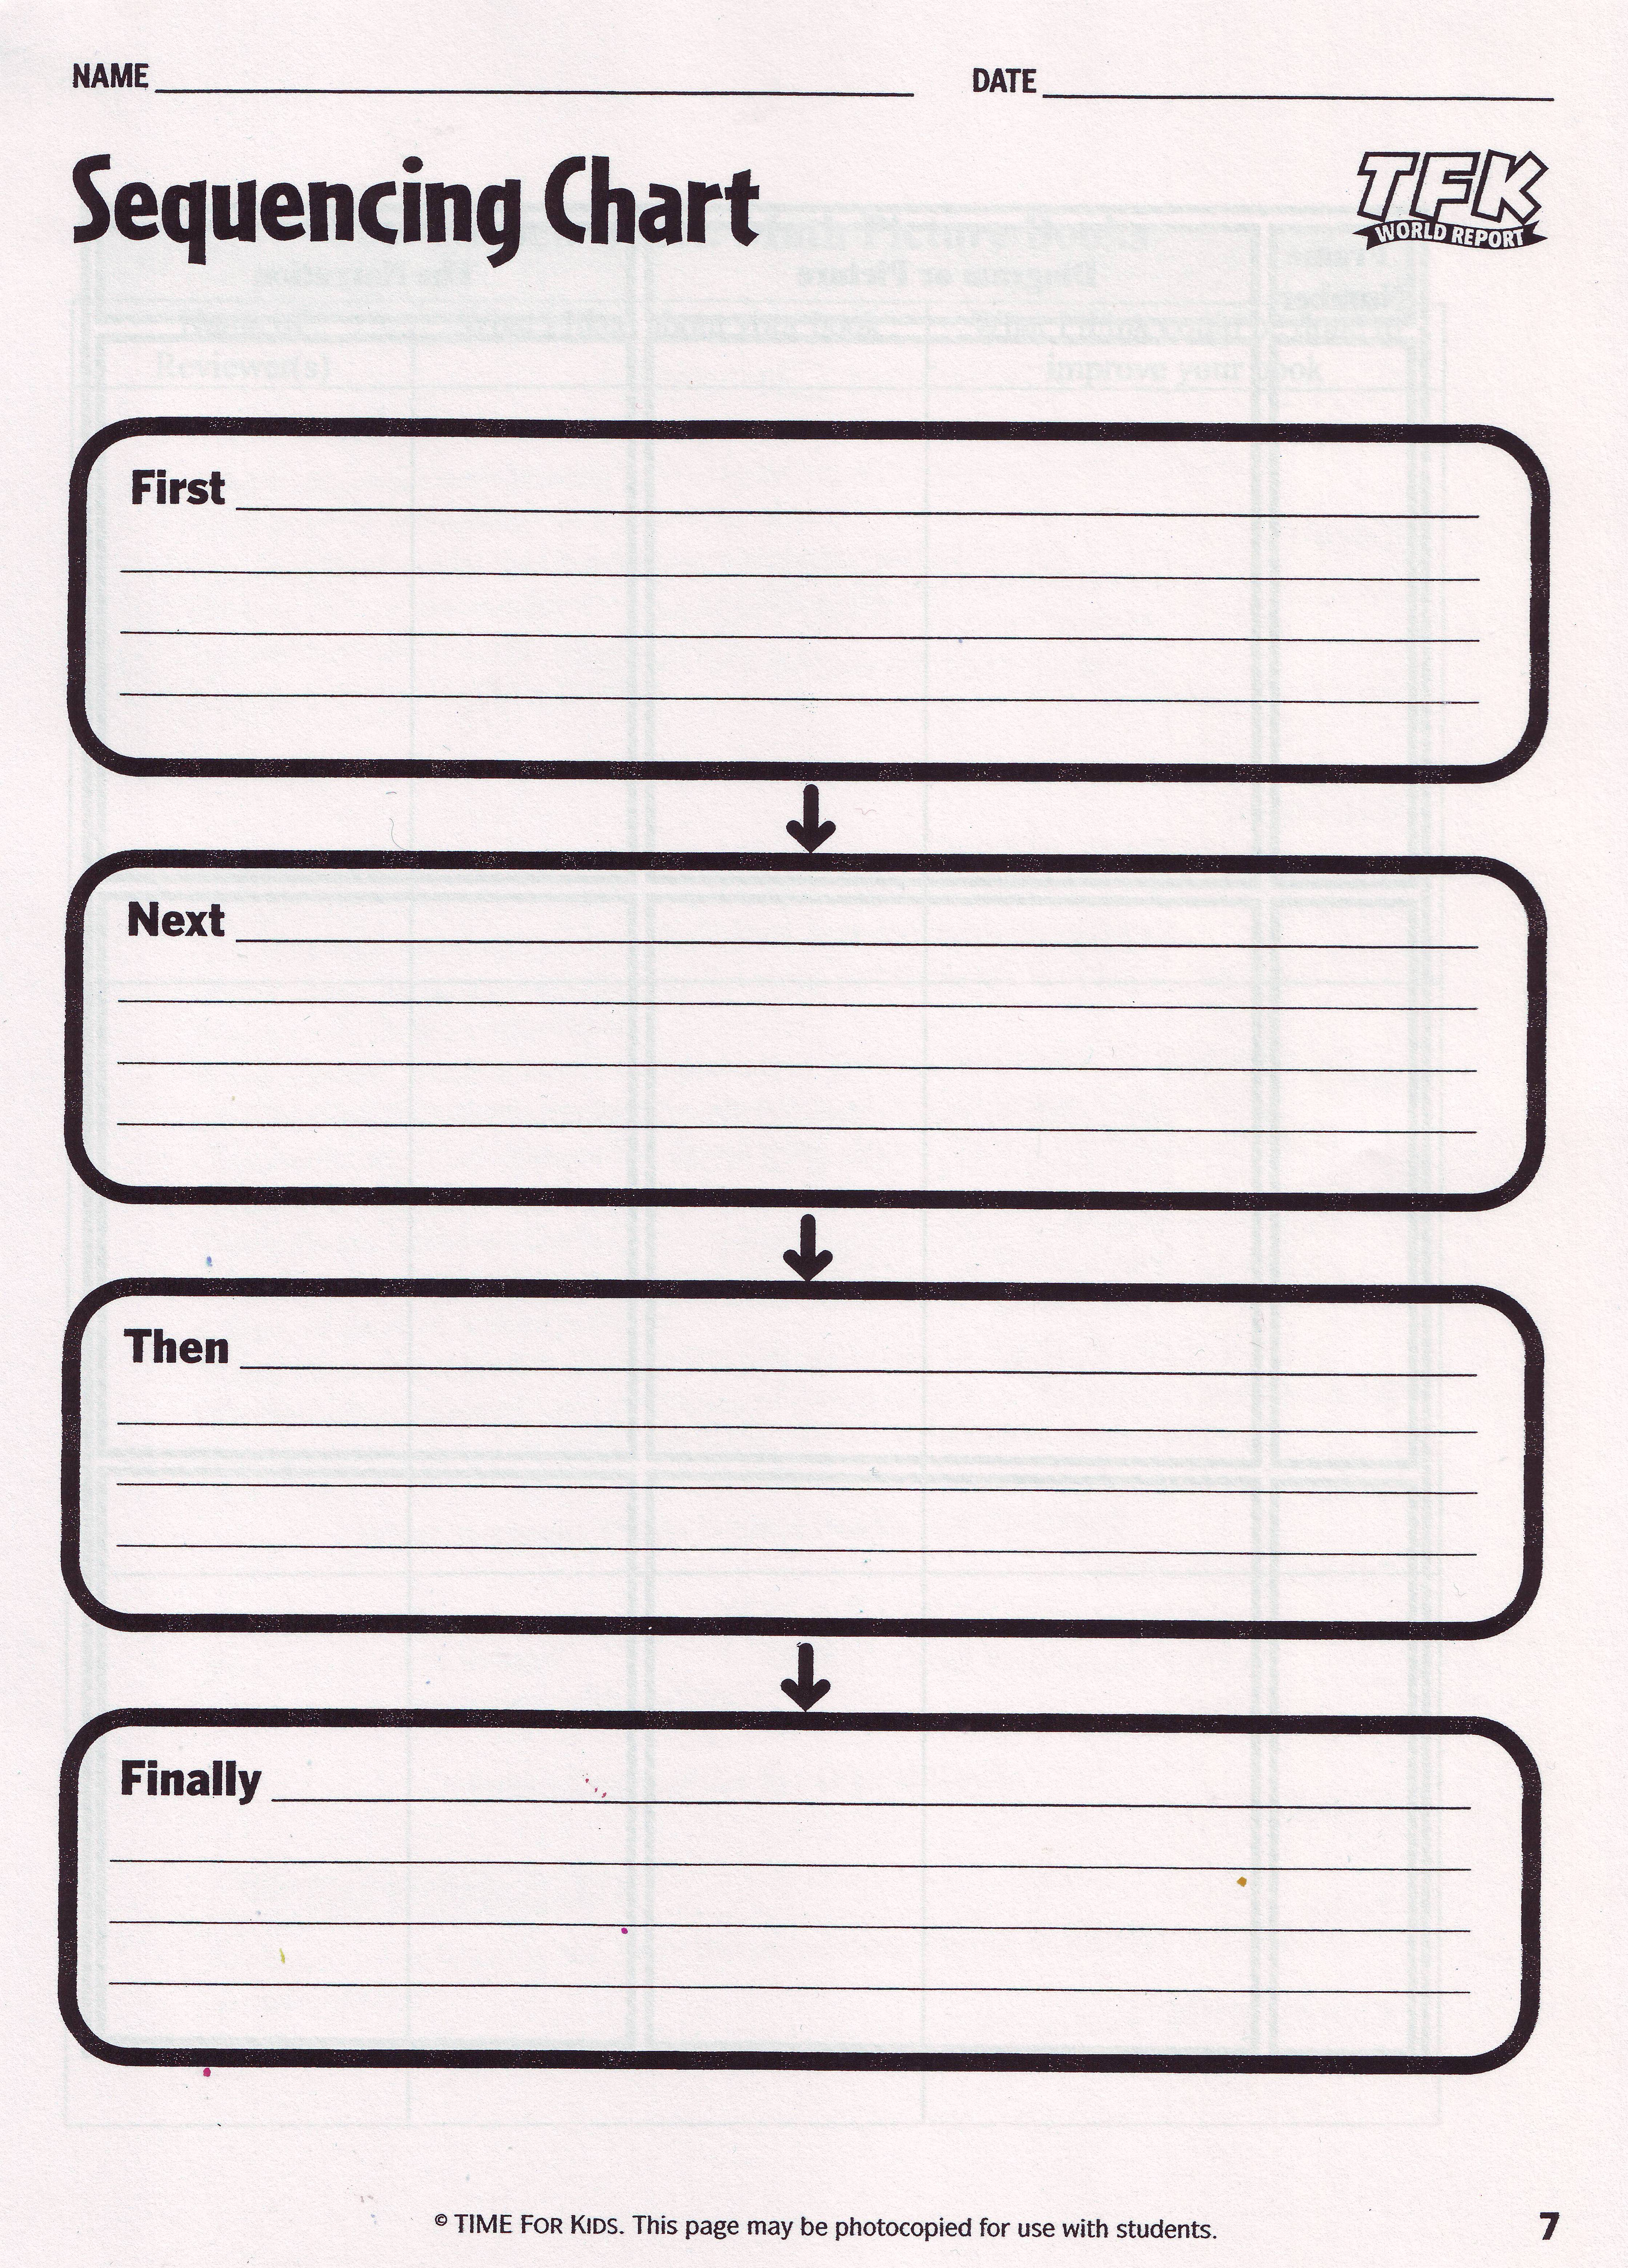
From there, they used both a storyboard and a concept mapping sheet to plan out their stories. The storyboard allows them to think about the “scenes” in the movie and the concept map provides a structure for a framework of story sequencing — from start to middle to end.
Here are the templates that I use:

(here is big version of storyboard)
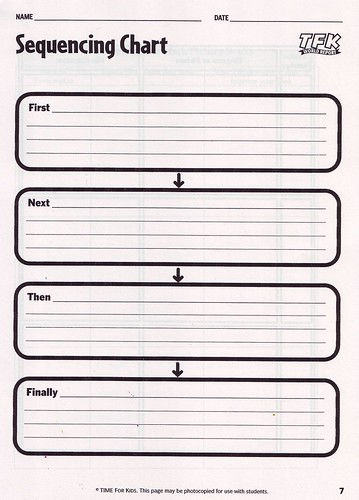
(here is big version of concept map)
Normally, we then move into writing the script, but this year (as I mentioned in my last post), I decided to see how things would fare if we shifted into filming and letting them use the storyboard and concept map to create dialogue and narration (a mixed bag, I must say).
The filming takes time — I would guess this part of the project took some groups three 45-minute sessions to seven 45-minute sessions. My job is to encourage and push them along, otherwise, some groups would never get the filming completed. Once they have the raw footage, we move the video into MovieMaker, edit out fingers and hands that crop into the footage and begin to piece things together with narration. Getting good audio levels from a group of students is difficult, as microphone placement is crucial. But some kids like to pull the microphone almost into their mouth and others try to keep as far . As they are adding titles and credits, I remind them that credits should probably not be longer than the movies (which run anywhere from one minute to three minutes long, total).
This is a key point for me: I show the students how to edit, but I don’t edit for them (unless there is some emergency). I have to resist the urge to take over their project. I really want the movies to be theirs and theirs alone, and sometimes that means I wince a bit (to be honest) at the final product, and think about how I could swooped in and done something differently. But, that moment passes, and I realize that they have complete ownership over their movies.
Finally, we “create” the movies as video files and share them out. I’ll write more about publishing the movies in my next segment.
Here is another of the movies from this year:
Peace (in slowmotion),
Kevin